Porcelain Veneers are often the preferred restorative choice for patients who are seeking very aesthetic anterior treatment. A successful case not only restores the treated teeth but often has the added benefit of restoring a smile and the patient’s self-confidence.
Since we are making all-ceramic restorations every day, we are able to share some tips and information that will help ensure successful results for your patients. The following information covers a variety of subjects from basic to advanced. All are very important for the ultimate success of an all-ceramic restoration, however, some of the suggestions may not necessarily apply to you.
Models
Pre-op, post-op, diagnostic wax-ups, and/or acrylic mock-ups are all helpful in communicating proper incisal edge position, contour, and basic morphology. Providing models with this essential information will ensure that we meet the patient’s expectations. Allow us to create beautiful diagnostic wax-ups to present to your patient along with a putty matrix for temps fabrication.
Veneer Preparations
LABIAL VENEER
COLOR AND PREP DEPTH
Provide a shallow chamfer margin at the gingival (A), and proximal margins. The prep depth (B) should be 0.75 – 1.0 mm to provide space to block out tooth color that is too dark or too light. If the stump shade (prep) matches the desired restoration color, then only 0.5 mm reduction is needed. Provide 1.5 mm incisal reduction (C).
DIASTEMA CLOSURE
Increased proximal preparation (A) allows proper contour. Preparation (B) does not permit proper transitional contour after closure of diastema.
Preparation Design
DEPTH – Dark stump shades require deeper preparation (0.75-1.0 mm) to enable the ceramist to build the first layer of blocking porcelain (opaceous dentin) and still have enough room for the surface layers of translucent porcelain. Preps with stump shades that closely match the desired finished restoration shade can be prepped more conservatively (0.5 mm).
MARGIN – Shallow chamfer margins enable us to provide the best results. Thin slices or bevels don’t hold up well to the mechanical etching (sandblasting) and chemical etching (hydrofluoric acid) processes required to fabricate this type of restoration.
Bonding
As a word of caution, check material expiration dates carefully; use only fresh bonding materials. Debonding, breakage, and discoloration are often traceable to old silane primer and occasionally to out-of-date bonding resins. A recurring debond problem is usually caused by a contaminated tooth interface. Pumice and re-etch should solve this problem.
Communicate Shade
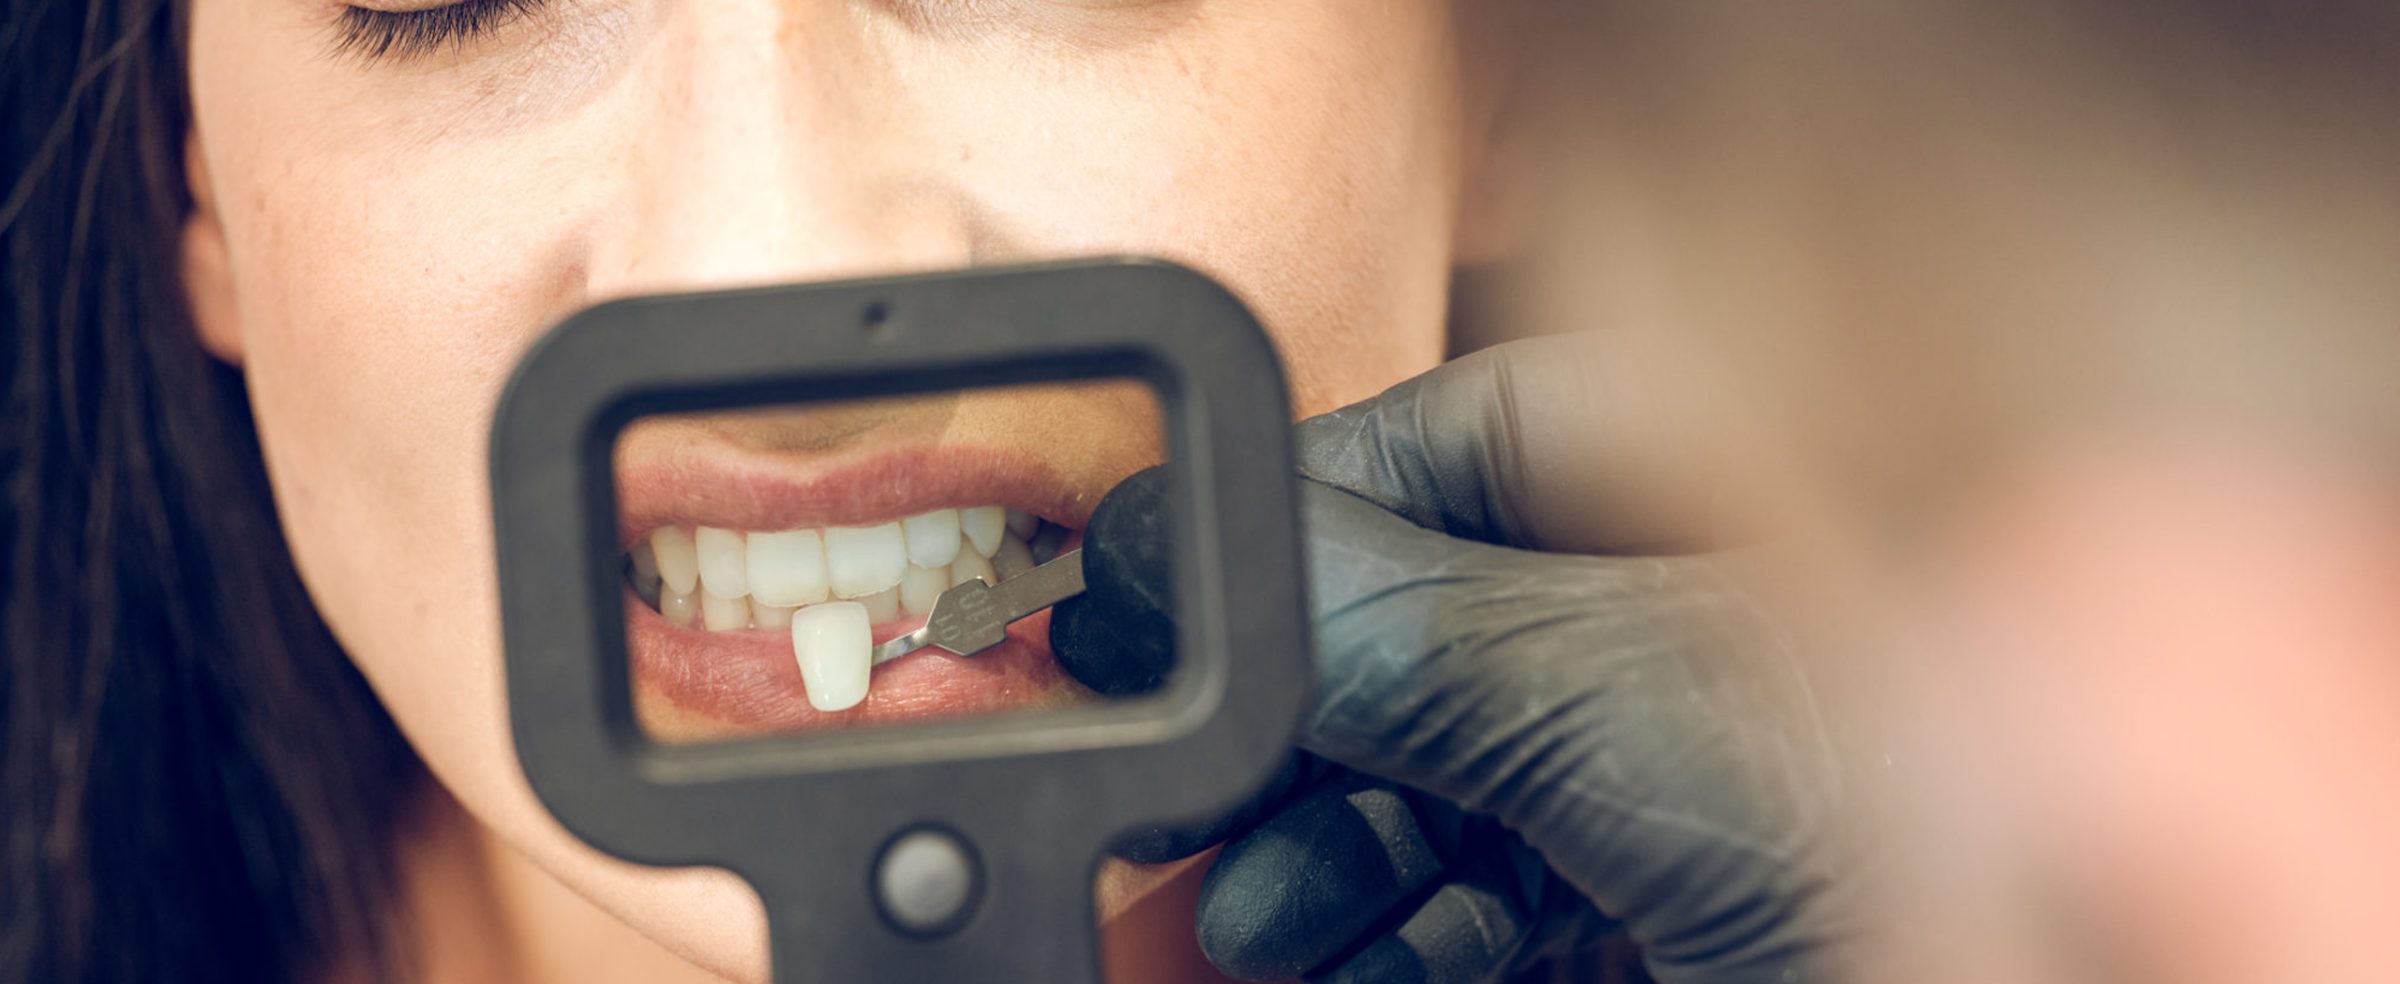
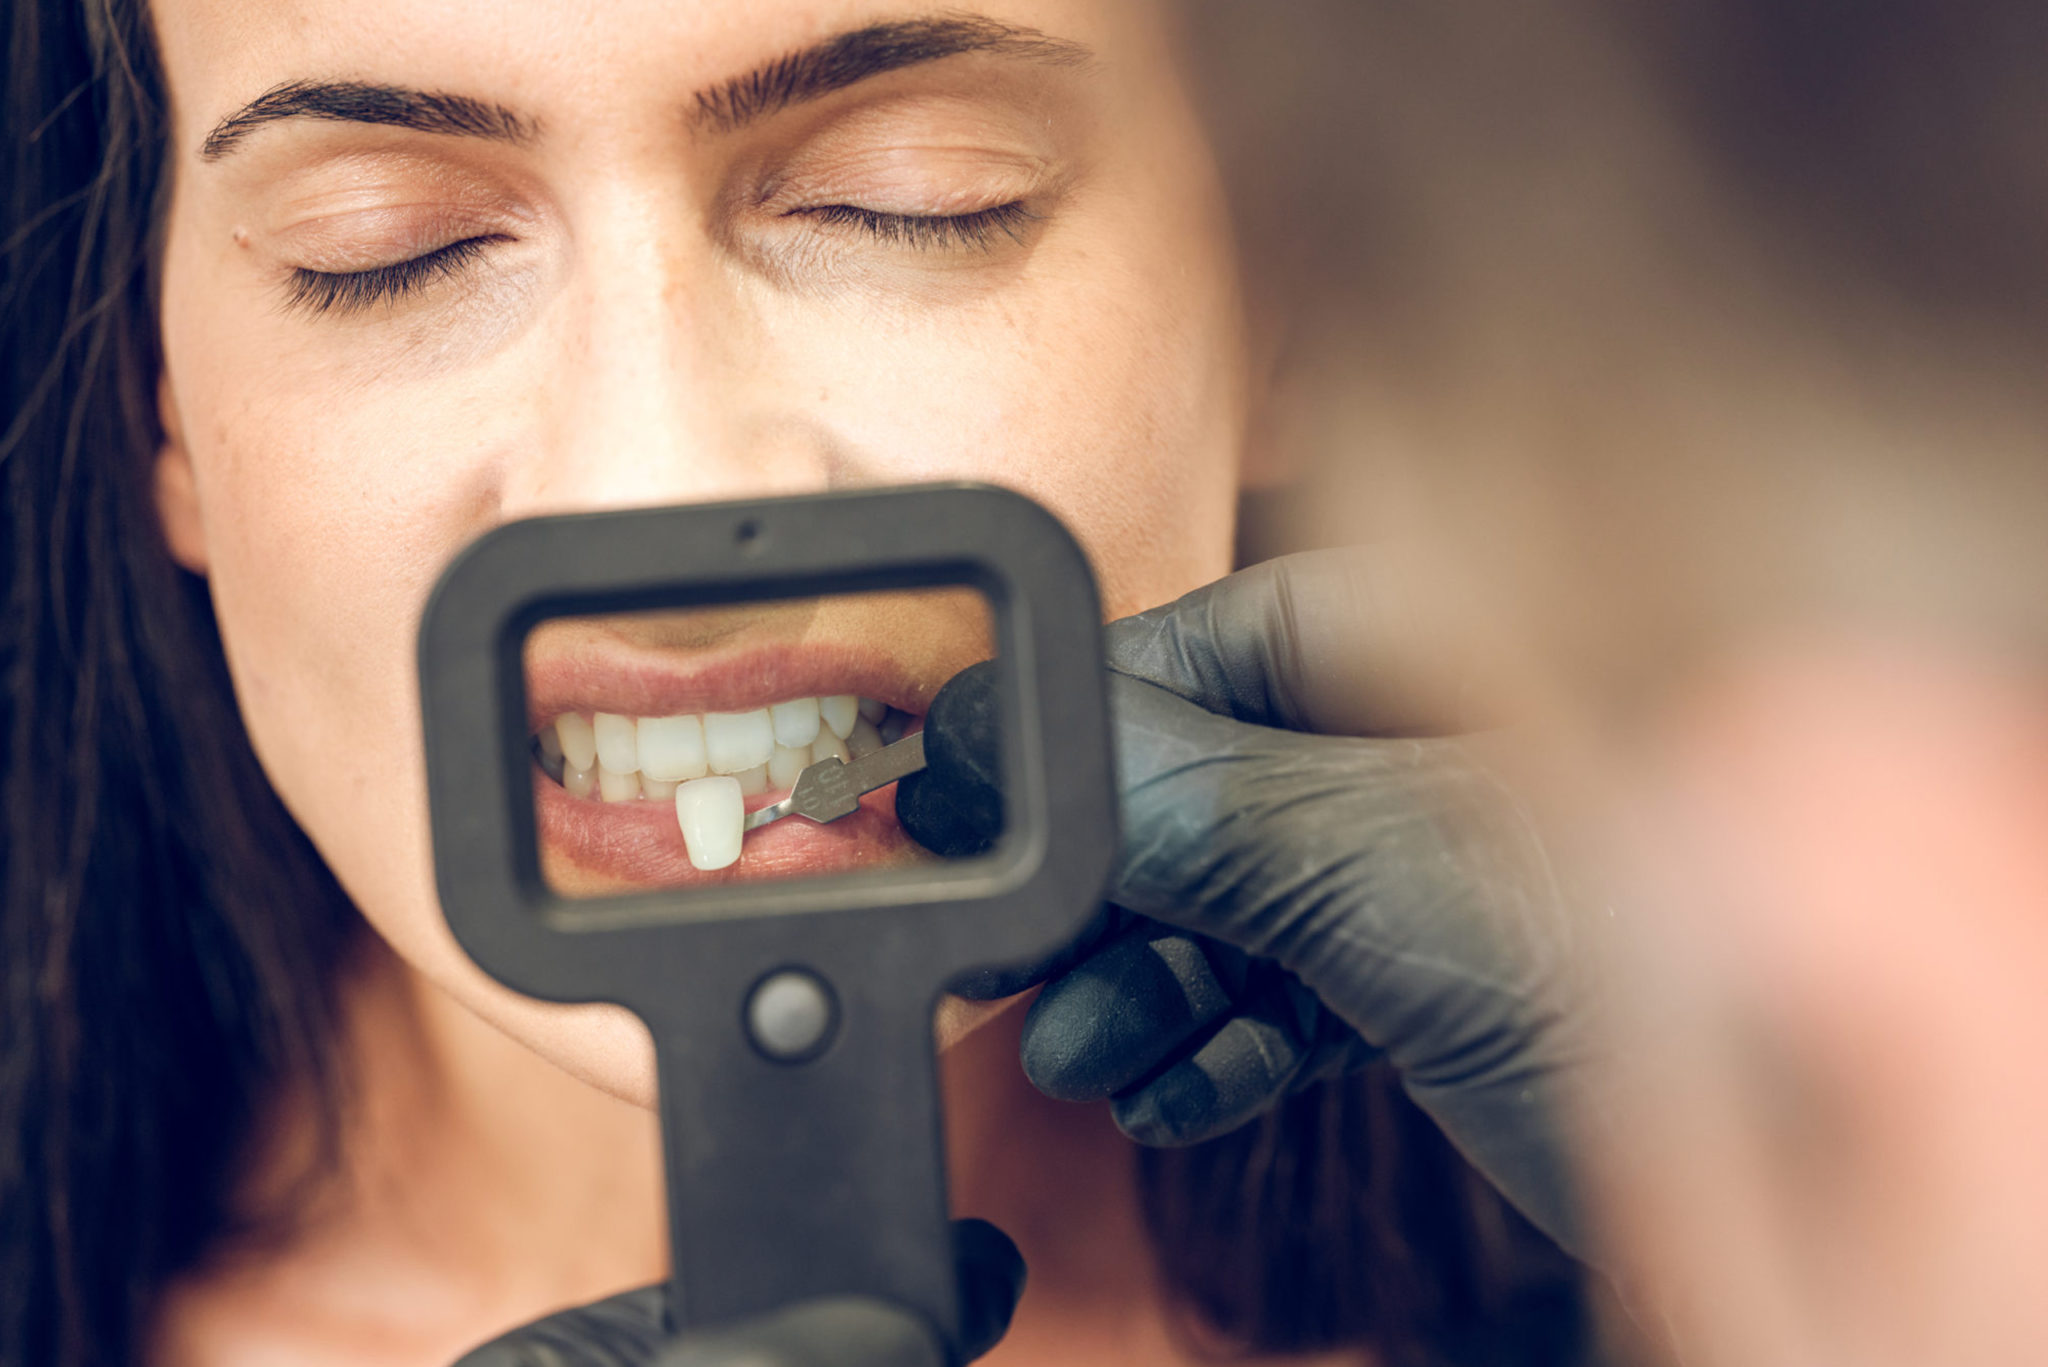
Provide photos before and after preparation. Select the shade tabs that match the pre-op tooth and post-op preps (stump shade). Position the shade tabs so that they are visible in the photo with the tooth and/or prep. Nothing communicates shade and characterizations better than photographs.


