The treatment of a patient that requires a full mouth rehabilitation should follow a carefully planned and executed workflow, both in the dental clinic and in the laboratory. At Spectrum Killian Dental Lab Alliance it is our commitment to work closely with our doctors to achieve optimal outcomes through good communication at every stage of the restorative process. Let’s look at a basic outline of a full mouth rehabilitation workflow that we have found will ensure great results and happy patients.
Clarify the Goals of Treatment
Discuss with the patient their concerns and expectations for the final outcome. This should include any changes being made to:
- Position of incisal edge of teeth 8 and 9
- Buccal corridor contour changes
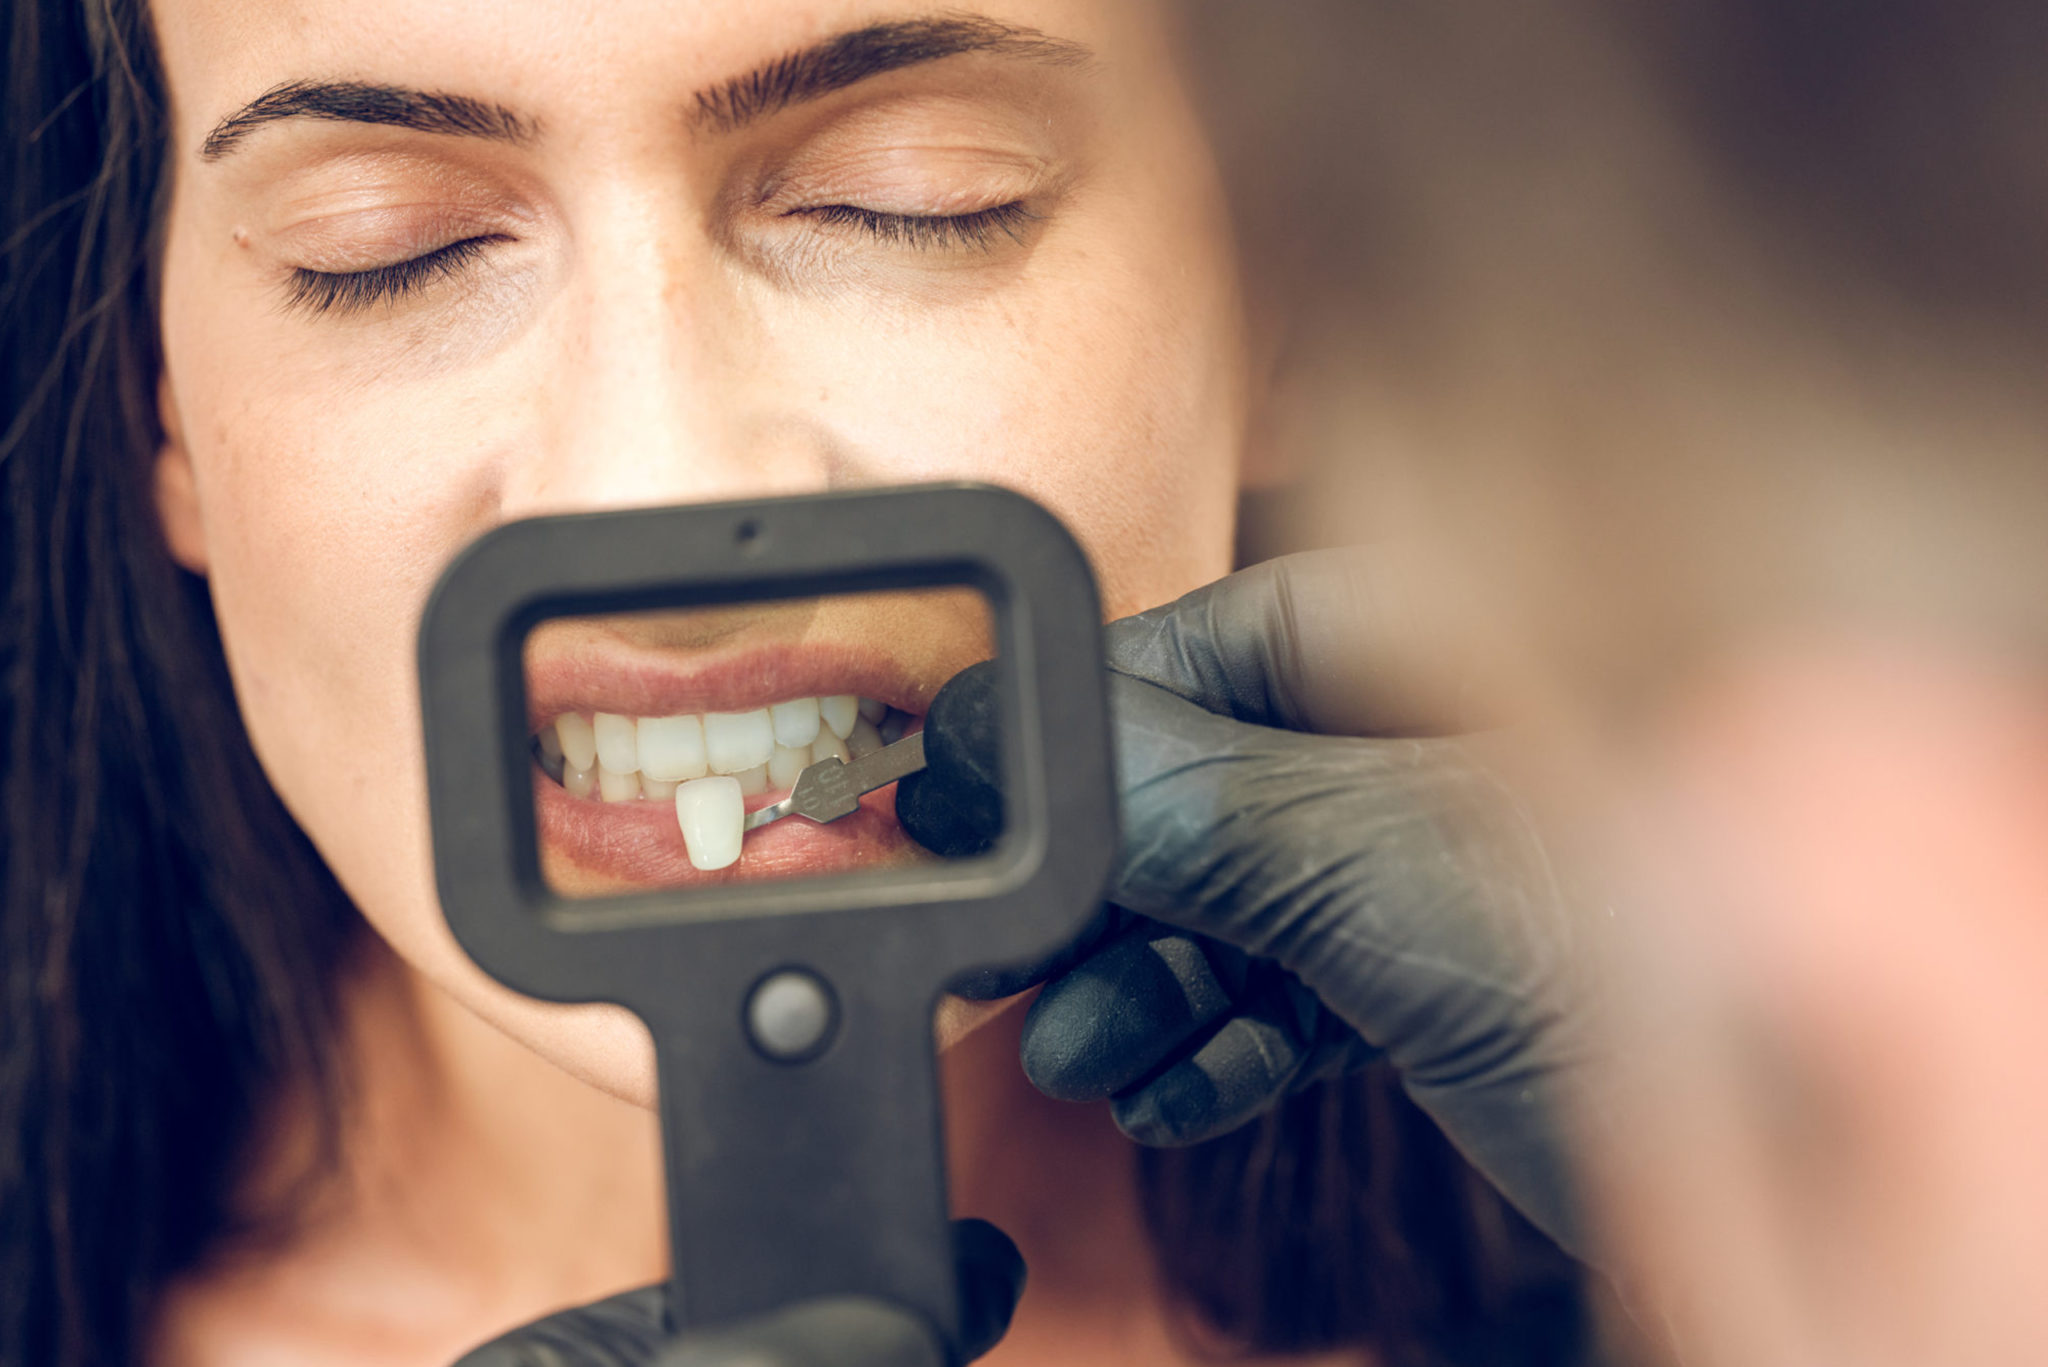
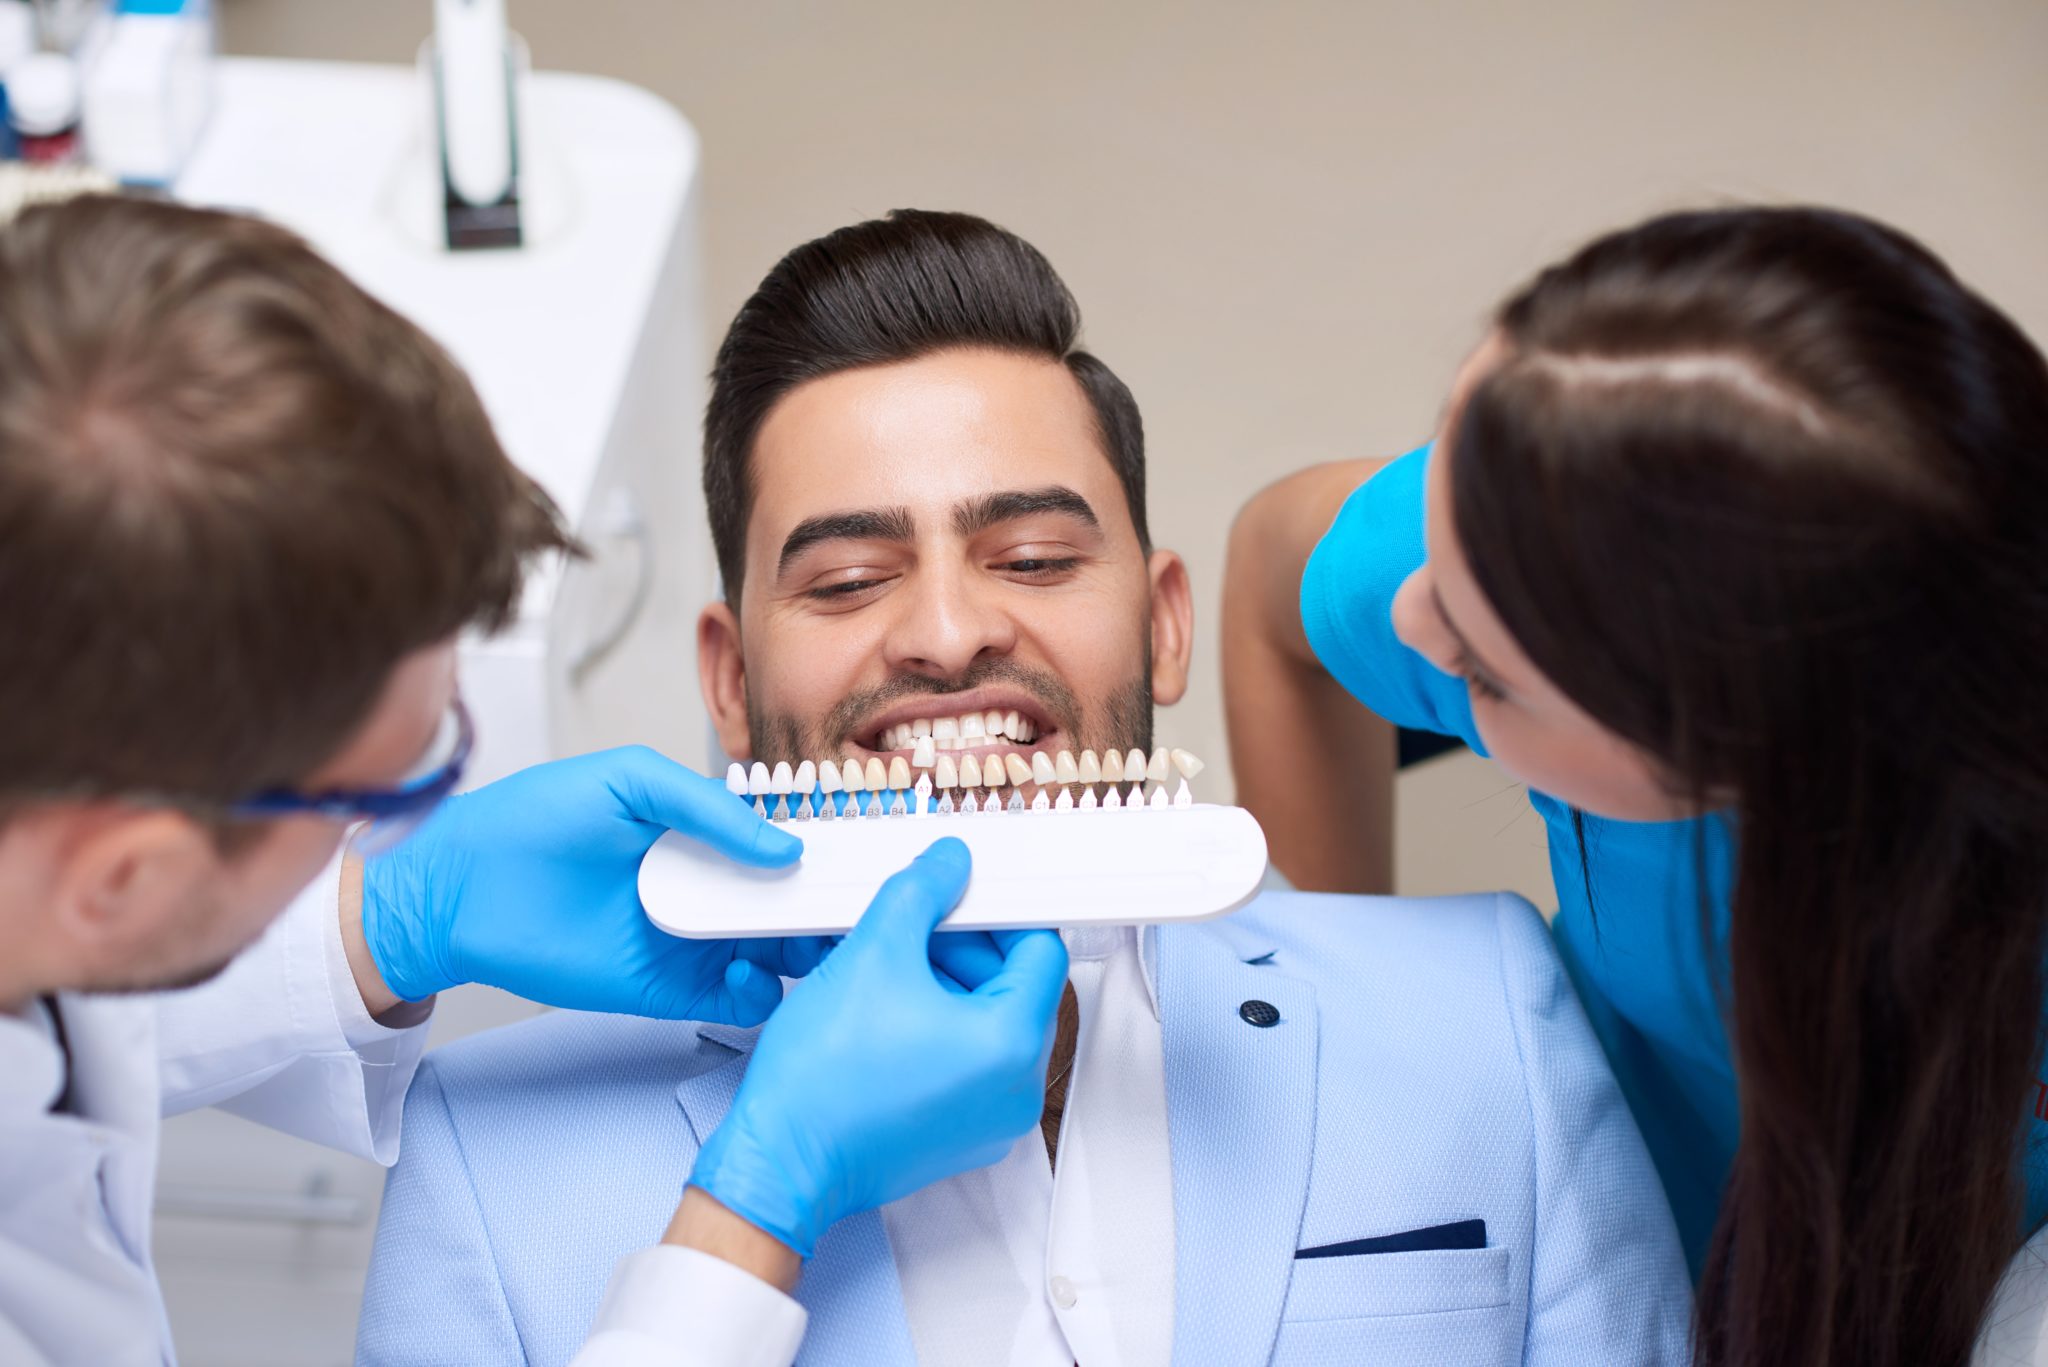
- Shade and Shape of the teeth, amount of translucency, surface texture
- Changes to VDO and envelope of function
- Type of restorations that will be included, PFZ, Veneers, PFM etc.
At this time it is also important to set realistic expectations regarding the amount of time required to complete treatment, including the possibility of additional appointments that may be required for any necessary adjustments. This type of treatment should never be scheduled close to any travel plans that the patient may have.
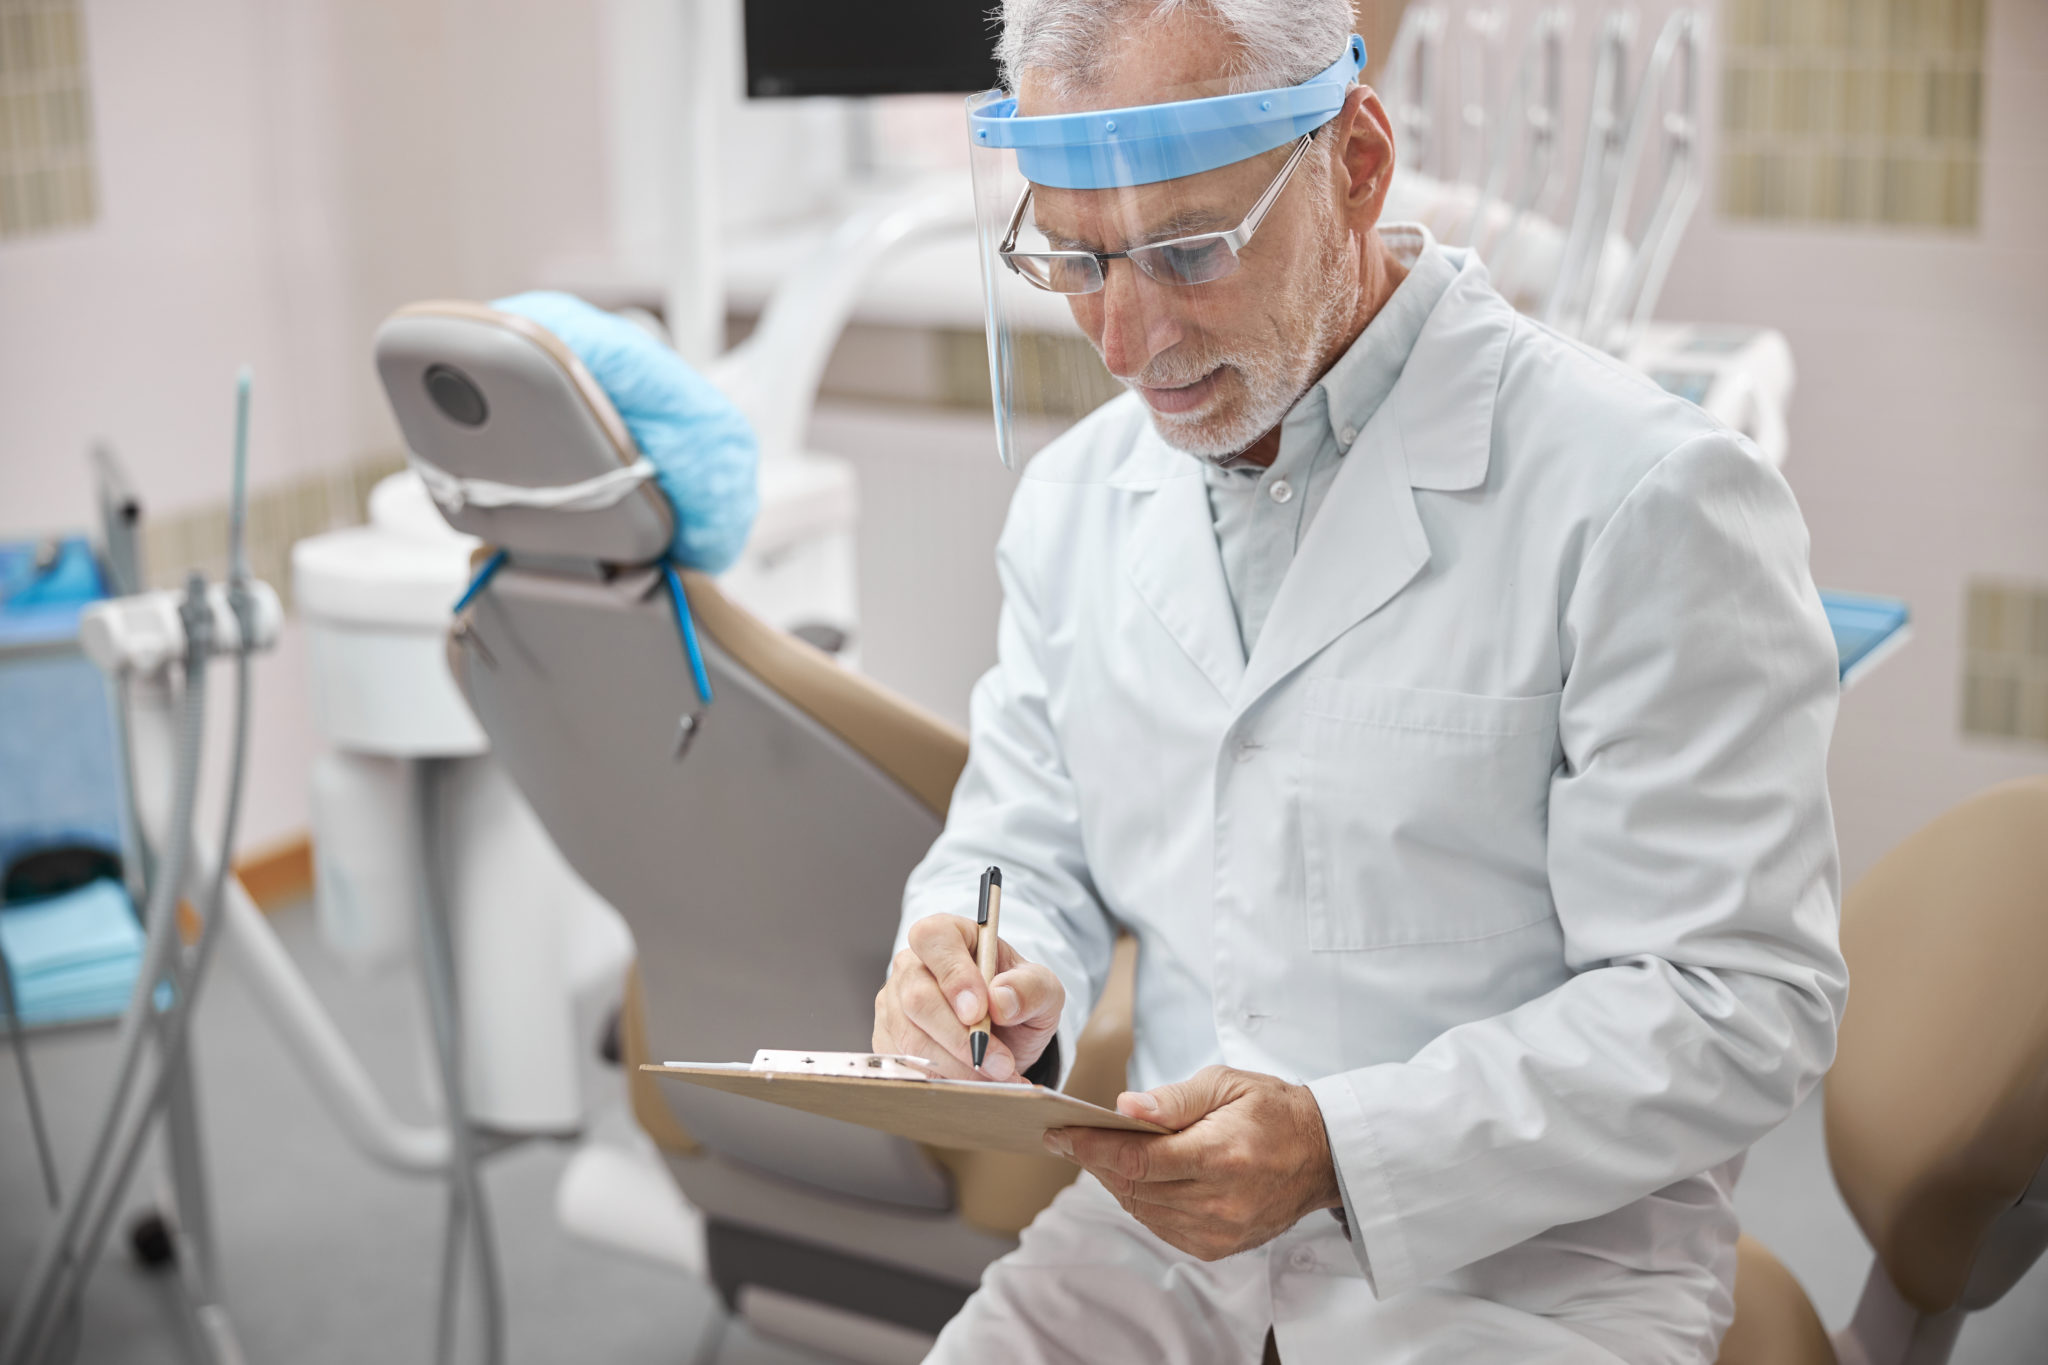
Write a detailed Laboratory Prescription
Please include all information discussed above. Use additional sheets of paper as necessary. While it is a good idea to discuss the instructions with the technician, this should never be a substitute for a written prescription.
Pre-Op Impressions and Smile Design Photos
We will need good detailed VPS impressions of the patient’s preoperative condition. Include both upper and lower arches. Take a set of 5 smile design photos (see Smile Design Photos in attached article).
Face Bow Transfer
Provide a face bow transfer to the laboratory to establish patient’s midline and horizontal plane of occlusion. If this is not provided a stick bite can be used but is not considered to be a substitute for a facebow. Let the lab know what type of articulator you use. If the lab doesn’t stock this type of articulator we may ask to borrow your articulator for the duration of treatment.
Arrange a phone or video meeting with the laboratory technician.
At this time a meeting should occur either by phone or in person to discuss the treatment plan with the laboratory. This establishes a thorough understanding of the parameters of the case for all involved. Topics discussed should include:
- Type of restorations
- Esthetic concerns and goals
- Changes to be made if any to the original Lab Rx
- All Information included in the Rx document
The Diagnostic Wax Up
A diagnostic wax up will be made to work out the functional and esthetic considerations for the case. While a digital workflow can be used for some cosmetic wax ups, it is highly recommended that an analog process performed by one of our master technicians be used for the full mouth rehabilitation case. We can provide prep guides and putty wash matrices for making temporaries chairside. This will allow you and the patient to make any desired adjustments over the next two-week period to fully dial in all aspects of occlusion and contours. You should take a set of study impressions of the temps in situ prior to final impressions and send this to the lab with a set of bite registrations over the temps.
Prep Day – If Maintaining the Pre-op VDO
- Prepare teeth 3-5 and 28-30 and take a bite registration over these teeth using a semi-rigid material like Futar or Futar D from Kettenbach Dental. The unprepped teeth at 2 and 31 will serve as occlusal stops.
- Prepare the opposite side posterior teeth 12-14 and 19-21. Keeping the right side bite registration in place to help stabilize the bite, take a bite registration over the left side posteriors. Unprepped teeth 15 and 18 serve as occlusal stops.
- Repeat the process for the anterior twelve teeth replacing the posterior bite registrations to stabilize the bite when taking the anterior bite registration.
- Prep teeth 2,15,18, and 31. Replace posterior bite registrations and add new material to incorporate 2,15,18 and 31 into the bite.
Prep Day if you are opening the patient’s VDO
- Capture the patient’s CR position using a leaf gauge.
- Take a bite registration at the leaf gauge and the most posterior bite stops. 2/31 and 15/18. These will be put in place to maintain the new VDO during the bite registration process as described in the above section.
- Prep and take bites as described above while using the leaf gauge and posterior bite reg stops to maintain the new VDO.
- Take full arch impressions using the dual cord technique to expose a clear traceable 360-degree margin on each tooth. If necessary additional quadrant impressions may be used to capture any margins that appear unclear in the full arch impression. However, the full arch impression must be accurate enough to use as a working model. If the impressions received by the lab exhibit significant distortions a new set of impressions will be required.
Use the Putty/Wash Matrix provided with the diagnostic wax up to fabricate the temporaries.
Provisional Recall Appointment
- Adjust occlusion and any esthetics until you and the patient are satisfied and this situation remains stable for 2 weeks.
- Verify incisal edge position of 8 and 9
- Verify functional aspects of occlusion
- Evaluate for correct phonetic functioning using the S,T,F, and D sounds.
- If VDO has been changed significantly then take a new set of bite registrations by removing the temps in sections, upper and lower left, then upper and lower right, and then anterior twelve, replacing each section before registering the bite in the subsequent section. Bite registration should be over the preps only. Not over the temps.
Write a full work order to the lab
- This work order should include any small changes to be made in contour, length, shade etc. to the temporaries.
- Make sure that all pertinent information is included in this work order.
Laboratory will fabricate final restorations according to your work order
- You may specify a bisque bake try, metal try in, or photos or screenshots of designs are sent for approval prior to finish. Any communication between the lab and the dentist may add to the time required to finish the case. Please allow for this additional time.
Day of Delivery
- We recommend that the patient be prepared ahead of time to expect that this appointment is a “try in” only. Small adjustments may be necessary to the case before final delivery.
- Any changes or adjustments to be made should be clearly outlined in all subsequent work orders.
Following this outline will greatly enhance the likelihood of a successful outcome. For more detailed information please contact one of our technical advisors today.